> ## Documentation Index
> Fetch the complete documentation index at: https://docs.pyne.ai/llms.txt
> Use this file to discover all available pages before exploring further.
# Highlight
Use the `Highlight` step to **focus** the user's attention on specific product parts while the avatar is speaking.
**Key Characteristics:**
* **Avatar Behaviour:** No action from the user is required. Once the step is executed, the avatar proceeds to the next step.
* **Common Use Cases:** Highlighting different columns in a table, sections of a diagram, or elements of a dashboard when explaining how to interpret or use them.
*Example: Highlighting Table and its Rows in Scoro (styling: Backdrop, Hidden Pointer)*
***
### Styling Options
Highlight steps can have different visual designs, depending on the design of your product, storyline and your needs. The design is set up in the ***right side-bar of the step. →***
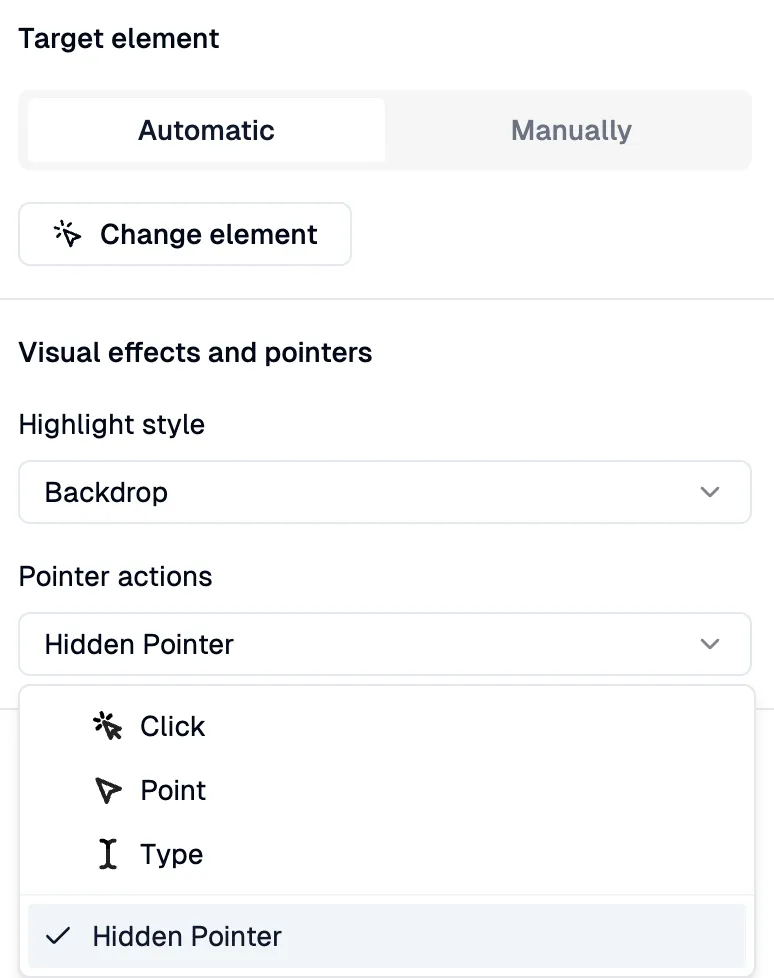 There are 3 designs for **Highlighting**:
Pulsing Point
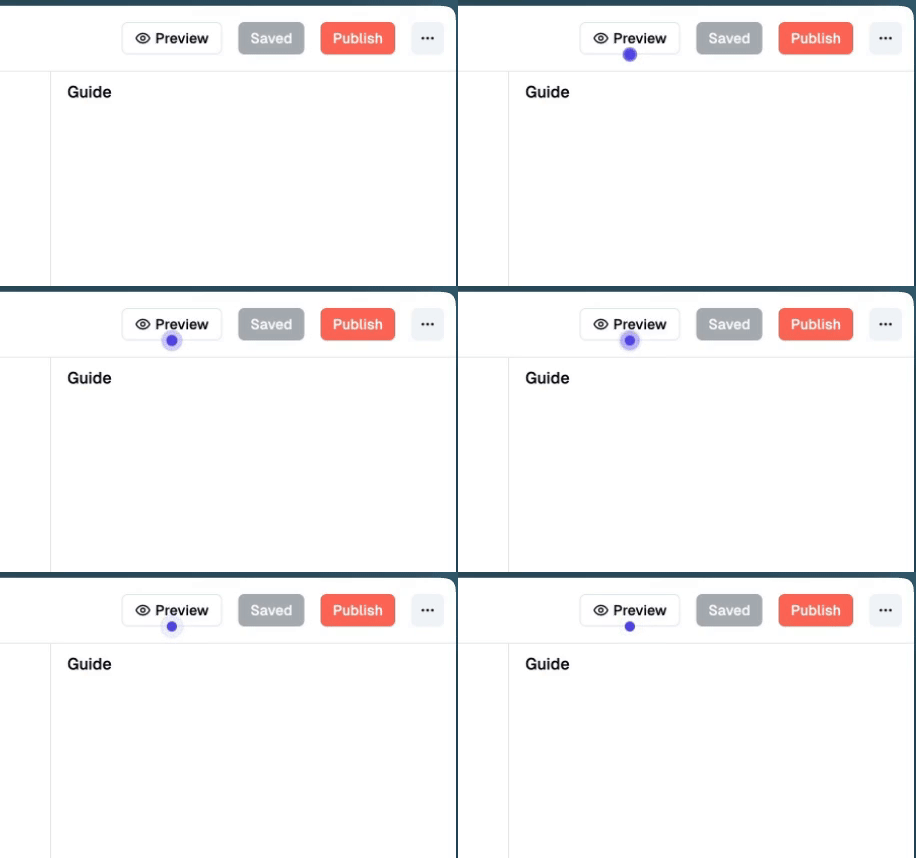
A subtle pulsing dot appears on the target element to draw focus.
Pulsing Border
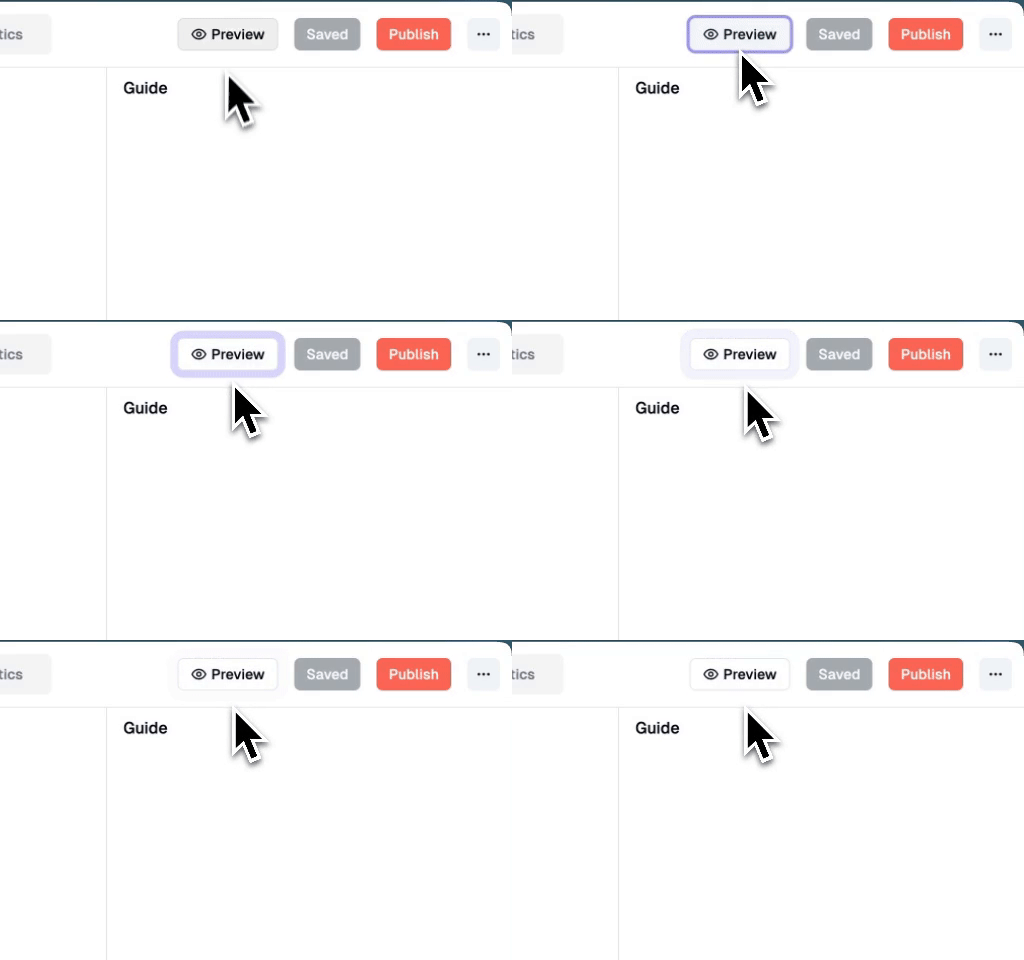
An animated border pulses around the highlighted element.
Backdrop
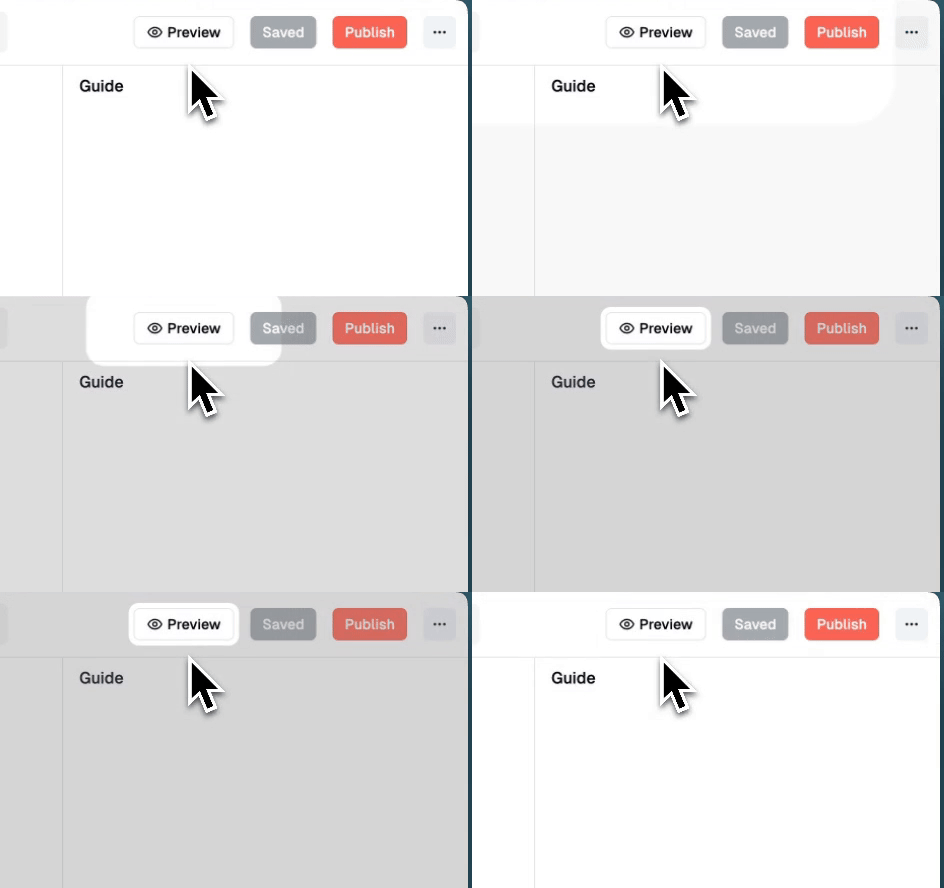
The area around the target element is darkened, creating a spotlight effect.